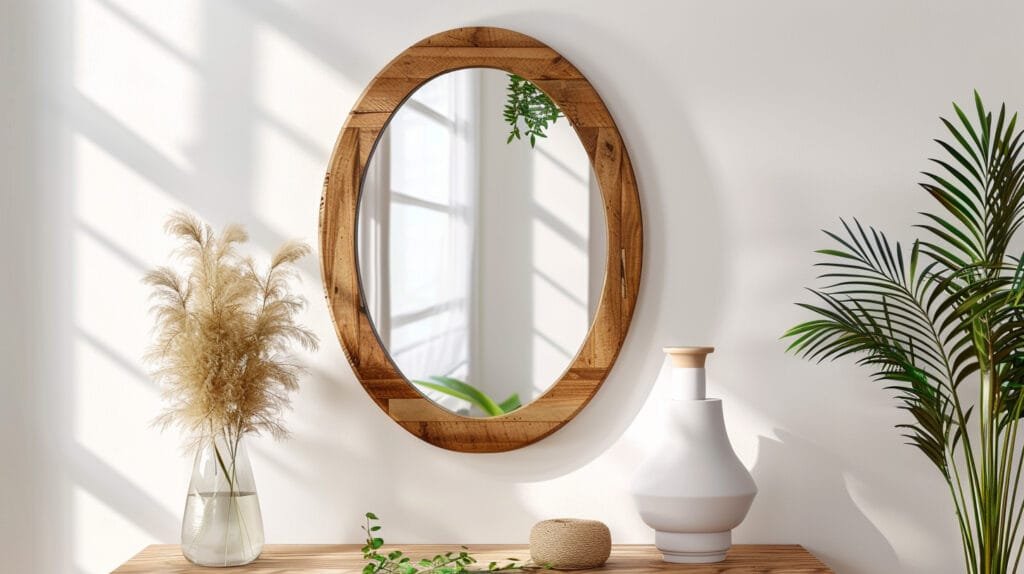
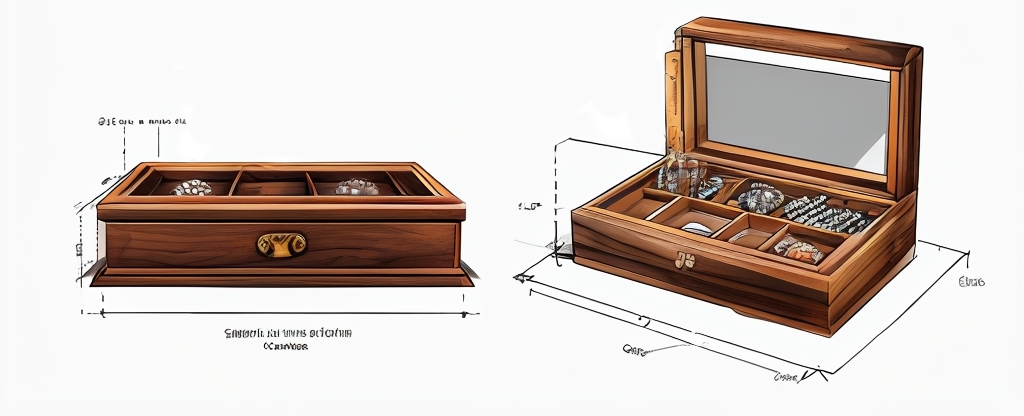
Have you ever stared at a plain, boring mirror and thought, “This needs some serious pizzazz!”? You’re not alone. Many homeowners face the same dilemma—wanting to elevate their space without breaking the bank. The good news? Framing a mirror with wood is an easy, budget-friendly DIY project that adds instant charm.
Framing a mirror with wood involves measuring your mirror, selecting the right wood, cutting and assembling the frame, attaching it securely, and finishing with paint or stain. It’s a simple yet transformative project that can make a huge difference in your home decor. With basic tools and a bit of patience, you’ll have a custom-framed mirror that looks like it came straight from a high-end boutique.
Whether you’re a seasoned woodworker or a total newbie, this guide will walk you through the process step by step.

Why Frame a Mirror with Wood?
Aesthetic Appeal
Let’s face it—bare mirrors are yawn-inducing. A wooden frame adds warmth, texture, and a touch of sophistication. Whether you prefer rustic barn wood or sleek modern lines, a frame can tie your mirror into your existing decor seamlessly.
Cost-Effective Upgrade
Why spend hundreds on a new mirror when you can DIY a frame for under $50? This project is perfect for renters or budget-conscious homeowners looking for a quick refresh.
Customization Options
From distressed finishes to bold colors, the possibilities are endless. You can even add decorative trim or carvings for a truly unique look.
Tools and Materials You’ll Need
Essential Tools
- Tape measure
- Miter saw (or hand saw if you’re old-school)
- Sandpaper (medium & fine grit)
- Wood glue
- Clamps
- Paintbrush or stain applicator
Best Wood Choices
- Pine – Affordable and easy to work with.
- Oak – Durable with a beautiful grain.
- Reclaimed Wood – Perfect for a rustic vibe.
Adhesives & Fasteners
- Mirror clips – For a secure hold.
- Construction adhesive – For extra stability.
Step-by-Step Guide to Framing a Mirror
Step 1 – Measure Your Mirror
Grab your tape measure and jot down the height and width. Pro tip: Measure twice, cut once!
Step 2 – Choose and Cut Your Wood
Select your wood and cut four pieces (two for the top/bottom, two for the sides) at 45-degree angles for clean corners.
Step 3 – Sand and Prep the Wood
Sand until smooth—no one likes splinters! Wipe away dust before assembly.
Step 4 – Assemble the Frame
Apply wood glue to the mitered edges, clamp, and let dry. For extra strength, add small nails or brads.
Step 5 – Attach the Frame to the Mirror
Use mirror clips or adhesive to secure the frame. Double-check alignment before it sets!
Step 6 – Finishing Touches (Paint or Stain)
Go wild with color or keep it natural. Seal with polyurethane for durability.

Pro Tips for a Flawless Finish
Avoiding Common Mistakes
- Don’t skip sanding—rough edges ruin the look.
- Avoid excessive glue—it can warp the wood.
Creative Design Ideas
- Try a floating frame for a modern twist.
- Add gold leaf accents for glam.
Conclusion
Framing a mirror with wood is an easy, rewarding project that instantly upgrades your space. Whether you go rustic, modern, or eclectic, the key is patience and precision. Now, go forth and transform that boring mirror into a statement piece!
FAQs
1. Can I frame a mirror without removing it from the wall?
Yes! Use lightweight wood and adhesive to avoid taking it down.
2. What’s the best wood for beginners?
Pine—it’s soft, affordable, and easy to cut.
3. How do I prevent the frame from warping?
Seal the wood with polyurethane to protect against moisture.
4. Can I use reclaimed wood?
Absolutely! Just clean and sand it well first.
5. How long does this project take?
About 2-4 hours, plus drying time for glue/paint.
Custom Message:
“Feeling inspired? Grab your tools and get framing! And hey, if you nail it (pun intended), share your masterpiece with us—we’d love to see your handiwork!” 🛠️✨


