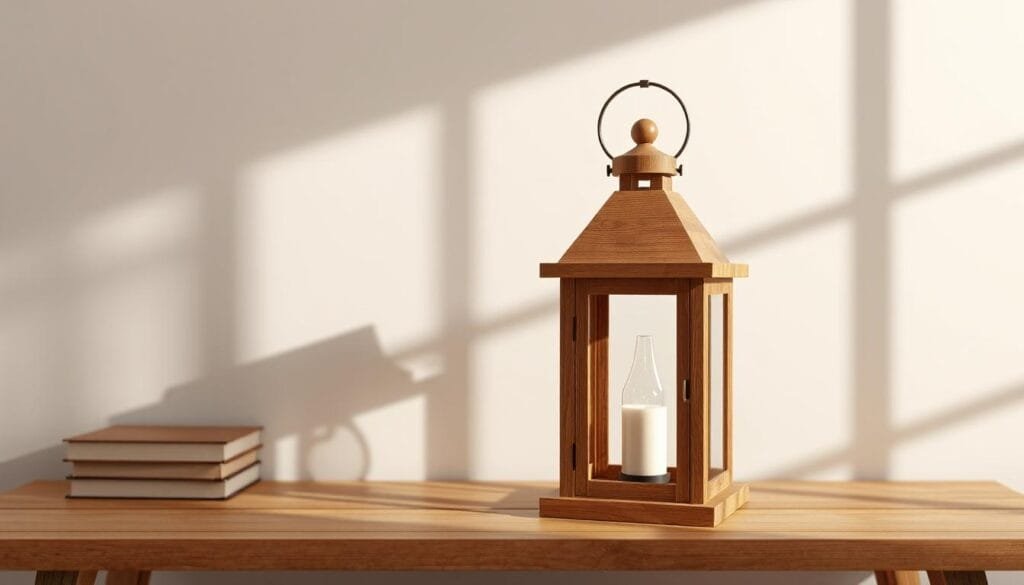
Ever been stuck staring at pricey wooden lanterns online, thinking, “I could totally make that myself!”? But then you get overwhelmed by all the technical stuff — measurements, materials, tools, and so on. You want something classy, but without the headache or spending a fortune. I get it. Making a wood frame lantern at home isn’t just about DIY for hipsters; it’s practical, fun, and can save you big bucks.
So here’s the deal: I’m gonna walk you through how to make a stunning wooden frame homemade lantern that’ll wow your mates, light up your space, and won’t cost you an arm and a leg. We’ll keep it simple, useful, and doable even if you’re not a seasoned woodworker.
Ready to light up your DIY game? Let’s dive in.
Why Make Your Own Wood Frame Lantern?
Let’s be real: buying cool wooden lanterns can sometimes feel like you’re paying for a fancy box with a light inside. Making your own? You get control. You pick wood quality, frame size, paint it your way, and even throw in custom details. Plus, building it from scratch means you can keep costs way lower than those boutique shops charge.
And if you’re like Andy — juggling client demands, quality issues, and price battles — this DIY option can seriously level up your inventory options. I mean, what’s better than a unique, eye-catching product straight from your hands?
Gathering All Your Materials and Tools
Alright, first things first – wood choice is king. I usually go for pine or cedar — they’re affordable, easy to handle, and have a great look. Hardwood like oak? That’s for pros or if you want a seriously solid frame and don’t mind splurging a bit.
Tools-wise, you won’t need a full workshop. Here’s my starter kit:
- Handsaw or miter saw (for cleaner cuts)
- Sandpaper (medium and fine grit)
- Wood glue (high-quality)
- Small nails and hammer or a cordless drill with screws
- Measuring tape and square ruler
- Paintbrush if you’re painting or varnishing
- Glass or acrylic sheets (to protect your light source)
Step-by-Step Guide to Building Your Lantern
Designing Your Frame
First off, sketch your lantern. Go with a classic rectangular shape or get funky with hexagons if you feel adventurous. Your frame’s size depends on where you want to place it. Bedside? Smaller’s cool. Porch? Go big or go home.
Cutting and Sanding Your Wood
Use your saw to get the wood into four sides and a base. Think precision here because wonky cuts = wonky lantern. Sand every edge till smooth — no one wants splinters!
Assembling the Frame
Glue your pieces together, then reinforce with nails or screws. Pro tip: clamp the pieces while drying for tight joints.
Adding the Glass or Acrylic Panels
Cut glass or acrylic sheets to fit inside the frame openings. Acrylic is safer and lighter if that’s your vibe. Attach them with small nails, clips, or clear silicone glue.
Finishing Touches: Varnishes and Paints
This is your chance to bring character. A clear varnish highlights wood’s natural charm, or slap on some bold paint for a pop.
Putting in the Lighting
Battery-powered LED candles are the safest and easiest bet. No cords, no fuss. Just pop one inside and flick the switch.
Customizing Your Lantern
Stencils or hand-carved designs on the wood? Heck yes. You can add hooks, rope handles, or even a personalized plaque. Your lantern, your rules.
Troubleshooting Common Pitfalls
If your wood cracks, don’t toss it. Dab some wood glue in the crack and clamp it tight. Wobbly frame? Double-check your screw tightness and adjust accordingly.
Why Choose Our Custom Wooden Crafts?
Now, if you’re thinking, “Cool article, but I just want someone reliable to hook me up with these in volume,” Kangjie’s got your back. We cut out the middleman — snagging top-notch wood frames with low minimum orders and lightning-fast shipping. That’s exactly what Andy digs about us: quality, affordability, and a no-hassle experience.
Final Thoughts
Making your own wooden lantern isn’t rocket science. It’s a crafty adventure with tons of room for personality. Whether you DIY or partner with manufacturers like us, you can light up spaces and impress customers.
FAQs
Q1: What type of wood is best for outdoor lanterns?
Hardwoods like teak or cedar are great for weather resistance, plus they look sharp and last long.
Q2: Can I use LED string lights instead of candles?
Absolutely! LED string lights add a cozy vibe and are safer than real flames.
Q3: How do I make sure the lantern is stable?
Use strong wood glue and reinforce joints with nails or screws. Clamping during drying helps big time.
Q4: Is acrylic better than glass for lantern panels?
Acrylic is lighter and less fragile, making it ideal for handling or outdoor use.
Q5: How can I customize the lantern for my business?
Try branding with laser engraving or custom paints to make your products stand out in the market.